Showing posts with label red. Show all posts

Monday, 6 January 2014

Wonder Woman Cake

I know I am not the first to do this. I know I will not be the last. But I really enjoyed this cake!

The cake is Chocolate and is a 7 inch and a 4 inch. Everything is hand made, these days I am trying to put more focus on the figures and the face. The level of detail I put in seems to pay off when putting the whole thing together.

 The Wonder Woman Logo is hand cut on both the main cake and the figure. I know the cake is rather simple but I think the figure makes it!

 I love making cakes like this.

Friday, 22 November 2013

Angry Birds Cake

I enjoyed this cake, mainly because of the time I had free to do the details on the figures and the fact that there are so many of them.

I always try to get things as close as I can to how they should really be and in this case I was very pleased with the results!


Minnie Mouse Cake and Cupcakes

Its harder than you think to try and get something to look like it should. I know honestly that I did not nail this cake. Its very hard too, but it was a decent and fair attempt I feel, I think its the cheek an eyes that let it down.

Think the little 5 year old girl it was for was happy though. Let me know where you think I went wrong?


Topless Pinup Cake, 18+

 Its all icing I promise! Its the first time I have ever done a topless pinup, I was happy with the outcome as was the client. Well if she isn't embarrassed placing the order then why should I be making it!


Friday, 1 June 2012

Ruby Slipper Cake

This is a cake I have had to do a few times, each time the kitchen and the cats have never fully recovered from the red glitter attack. I has been done in chocolate and vanilla, the base of the case is another custom job. I get my now husband to make the heal of the shoe out of hard foam as I can't touch the stuff. I then spray and cover this foam heal with foil so it is safe for the cake to rest on. I also have to cut some 3mm cake board into the soul of the shoe to rest the cake on and build up from there.


You make a the shoe shape and put it in the fridge to set for about 2 hours, while this is going on it gives you time to cut out all the little red circle to stick on the shoe like sequins. When the cake is set you can then cover the cake in a layer of red fondant after putting a little black insert in for the inside of the shoe. then you can start to stick the circles on, I have no idea how many it takes I just usually keep going from the heal up till the cake is covered. It takes a while but is totally worth it!


Then I do two things, I spray the cake with a metallic mother of pearl spray to give a slight shine but then have to manually dust the cake in red glitter and white holographic glitter. This doesn't cover every part of the cake but adds to the illusion.


Time consuming but I very fun cake and people's reactions are great!

Gibson, Les Paul Guitar Cake

So I just finished this cake yesterday for someone I work with, they originally asked for the cake to be as big as I could make it with money been no object. However when I advised what size of cake I could make and the cost, it became an object! :)

So I ended up scaling this one down to be 28 inches long instead of real Les Paul Guitar sized. Something that big would have been a nightmare to deliver anyway!


 I added an Amp as I had more cake left over and I didn't want to waste it. The cake is a chocolate with chocolate butter cream. I covered the whole of the cake in white fondant icing to start with, then I used a mixture of yellow, caramel, red and dark brown food colouring neat from the containers to pain the wood effect. Starting from the middle and pulling out with a paint brush. The side of the guitar was air brushed, took about 5 coats of different colours, red, black, caramel and dark brown to get the right effect.


The neck of the guitar is painted with black food colouring which gave it a nice sine. All of the little parts have been made from fondant icing with a hardening agent added, they have then been painted with gold or silver edible paint.

The crowning achievment I think was the strings which in its self took an hour to do. They are fishing string tied around a little metal hook and then slotted into the base where the strings would normally start and then it is tied to a cocktail stick which is inserted into the cake at the head end and then has a small piece of icing put over the top to hide this.


I really enjoyed doing this and it's been a while since I did something so details but it is one of the best cakes if not the best I have done I feel.


Sunday, 7 August 2011

Bugatti Veyron Cake

This is yet another car cake but this time with part of the Sunderland Football Club on the bonnet. A strange shaped car and a challenge the logo is painted with black food colouring and the silver parts with the edible silver paint again.


Saturday, 6 August 2011

Ferrari Car Cake

This cake was a vanilla and jam cake. I start the car cakes off by baking an 8 inch by 12 inch slab of cake, and then I divide the cake into 3 sections. 2 which are roughly 5 inch's wide and the smaller piece is then cut to make the top of the car.

Then its just a matter of shaping the cake best you can depending on what type of car you are doing. I find that usually using a really thick vanilla butter icing is the best thing to get all the curves and dents on the vehicle. Believe it or not I have some plasticine modeling tools that I use. (They have never been used on plasticine so no worries there).

I would leave the cake to cool in a fridge for about a minimum of 2 hours, then apply the fondant icing. I find to get it as smooth a possible and then work back into it, to shape the doors and windows and so on. At this point I would recommend popping it back in the fridge for another hour at minimum to let the fondant set a little.

I then tend to cut the windows out using a craft knife (for cake use only), and then roughly cut a piece of black or white fondant for the windows and pop it in, trimming where needed. I do the same for the wheels and the lights and some times if there is a grid on the front. Bumpers and little wing mirrors with handles and wheels all get made and put on as you make them.

To put a finishing tough on the car cakes I have an air brush and compressor. I mix a little 'Mother of Pearl' Powder with some water and then air brush the cake before I put things like the registration or any piping detail on.
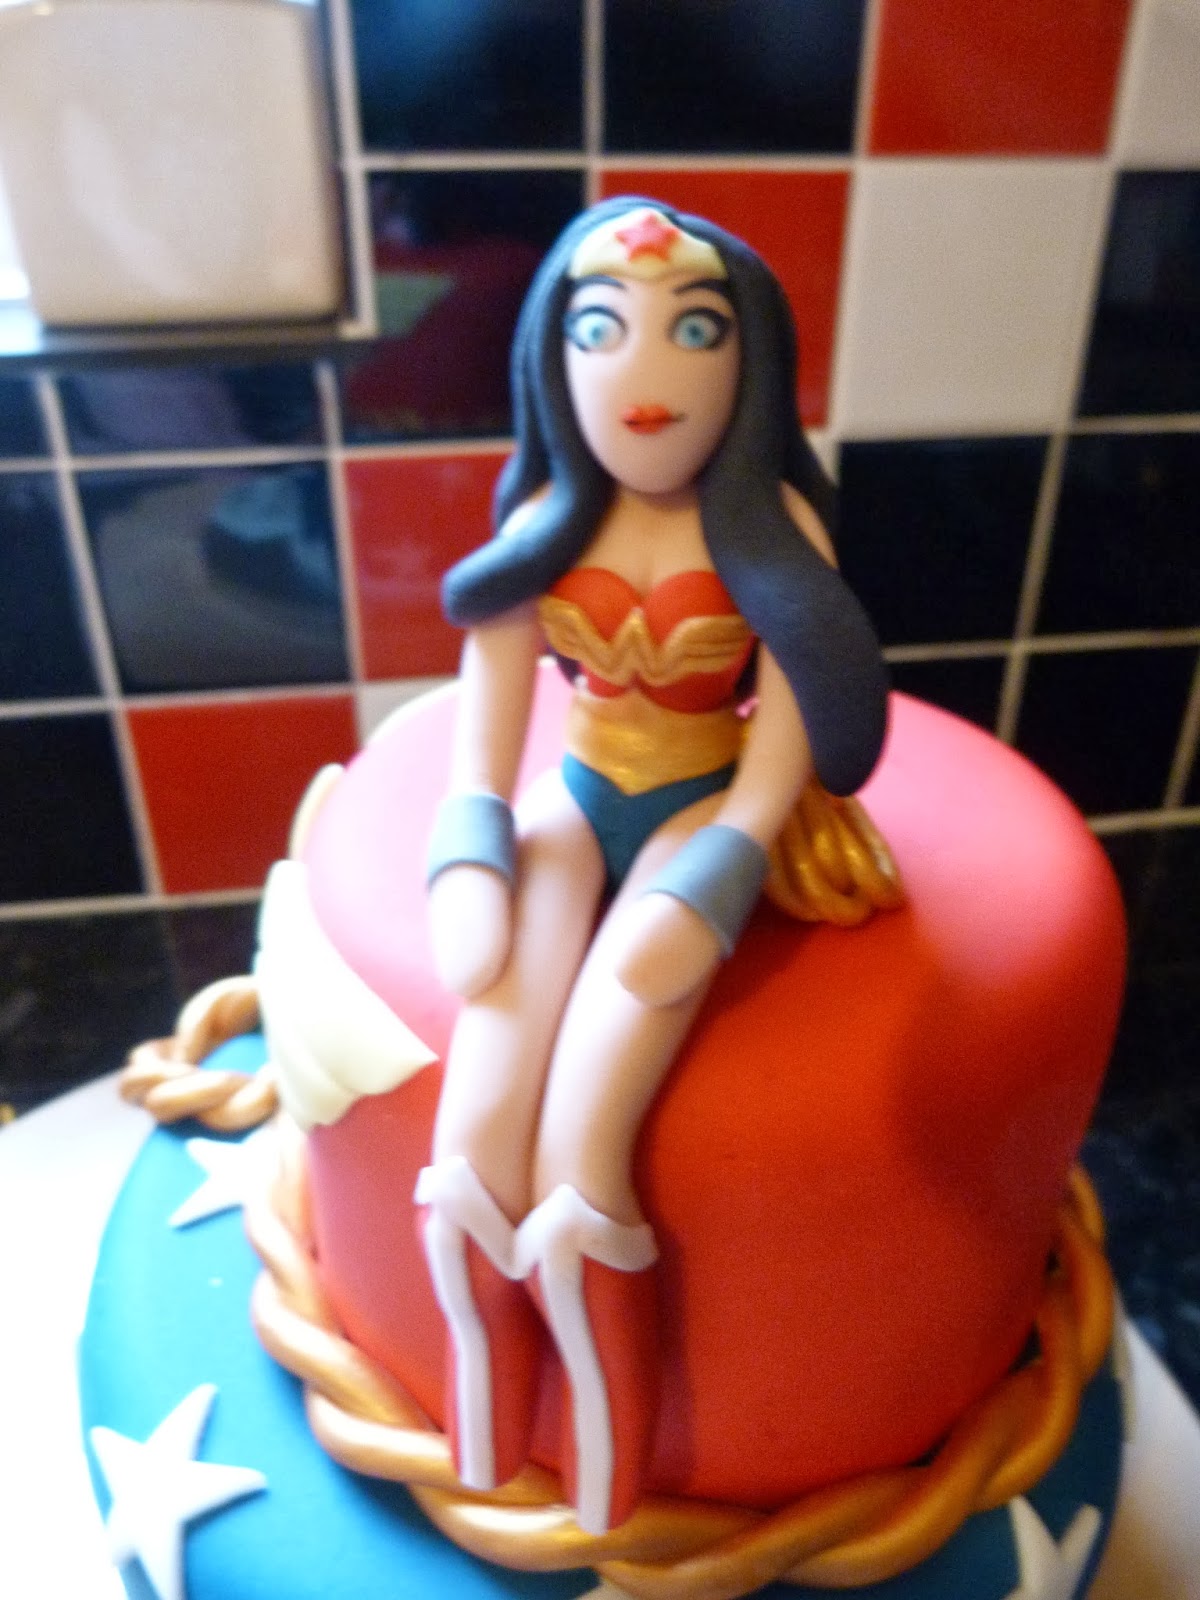
 Oooo, Red!
So there we have a car cake in the shape of a Ferrari. Please enjoy.